DIY Vehicle Maintenance: Cabin Air Filter Edition
- Kathryn Curry
- Sep 1, 2022
- 4 min read

Welcome to the first edition of our DIY vehicle maintenance blog. For the first DIY maintenance project, we will be covering how to change the cabin air filter in your vehicle. You might be wondering, what is a cabin air filter? What purpose does it serve? And why do I need to replace it? All of your questions will be answered below and we've included an instructional video for you to follow along with. Let's get started!
What is a cabin air filter?
The cabin air filter is exactly what the name says it is, it’s a filter for the air in the cabin of your vehicle. This filter is responsible for filtering the air that circulates through the heating and AC system and into the cabin of vehicles (where passengers breathe in the air). As you can imagine, the main goal of the cabin air filter is to regulate the air quality for passengers in your vehicle. So what can be in the air that the cabin air filter needs to filtrate? Dust and other allergens, air pollution, and even small debris. If you live in the country or don’t drive your vehicle often, mice are known for making habitats of our cabin air filters. So it’s always good to check your cabin air filter on a regular basis.
Why should I change my cabin air filter (and why should I do it myself)?
Like any other vehicle maintenance, keeping up with the manufacturer's suggested maintenance will keep your vehicle in top condition. The main reason to change your cabin air filter yourself is to save money. The cabin air filter used in the instructional video was purchased from O’Reillys for $24. This would normally cost over $50 on average if you went to a mechanic due to retail pricing and labor.
Benefits of changing my cabin air filter?
The biggest benefit of changing your cabin air filter is improved air quality for you and your passengers. If the interior of your vehicle is smelling a little funky, changing the cabin air filter is always a good place to start. A clogged cabin air filter can also put strain on a vehicle’s engine because it’s working harder to circulate air. A clean cabin air filter will put less strain on your vehicle’s engine and heating and air conditioning systems. As a result, the cabin of your vehicle will probably heat or cool to the desired temperature setting quicker.
How often should I change my cabin filter?
You should change your cabin air filter at least once every 30,000 miles. Checking/changing it more often in rural settings is probably a good idea.
How do I change my cabin air filter?
Are you ready to change your own cabin air filter? We will provide the step-by-step instructions, along with an instructional YouTube video, so you can complete this simple maintenance project on your own!
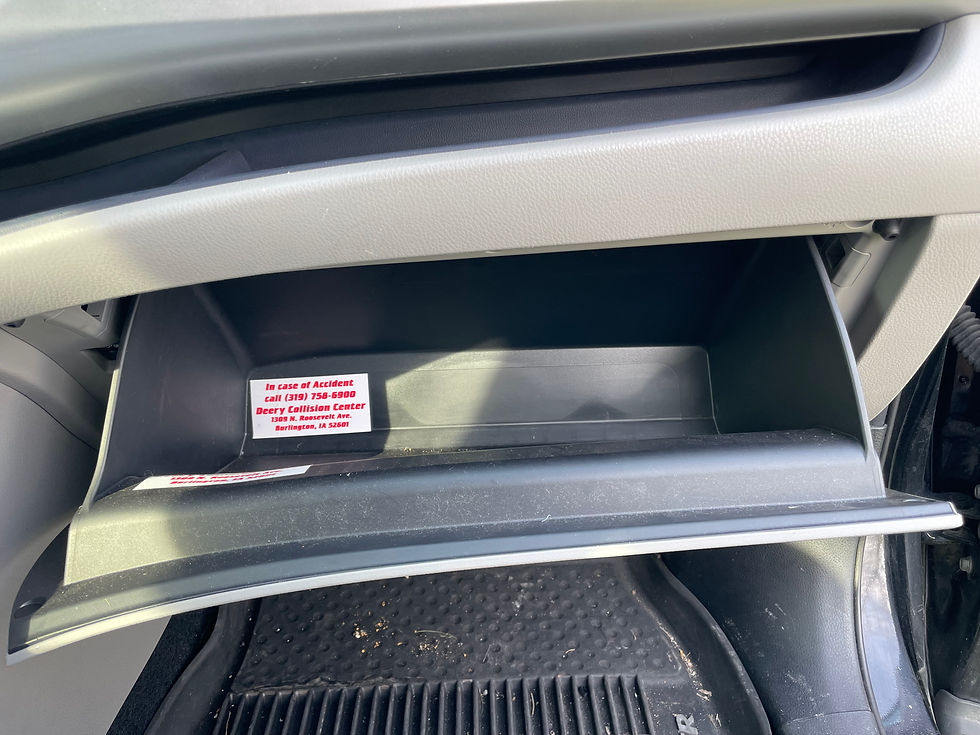
Before we get started, we would like to remind you that most vehicles are very similar on where the cabin air filter is located and the process to change it is usually the same. But some vehicles may be unique, a quick Google or YouTube search can be beneficial for finding the exact instructions for your specific vehicle. For the purpose of this blog, we are changing the cabin air filter in a 2016 Toyota Highlander, where the cabin air filter is located in the glove compartment - this is the most common place for cabin air filters to be located. To begin, you will need to open your glove box and empty the contents. There is a damper arm located on the right exterior side of your glovebox, you will need to pull the damper arm off it's mounting peg.

Next, you will need to release the side stoppers on each side of the glove box. To do this, you need to push on the back wall of the glove box until the side stops can be release. This will remove the glove box, which you can set aside for now.

With the glove box removed, you should be able to see the HVAC Blower Motor Housing and Cover. You can flip down the cover to gain access to the inner filter.

There are two small retaining clips securing the inner filter. To remove the filter, you must push on the release tabs on both sides of the filter and pull the cover off.

You can now remove the old cabin air filter from the housing by sliding it out.

It's now time to insert the new cabin air filter. You can now complete the steps in reverse:
Slide the new cabin air filter back in to the housing.
Make sure the retaining clips engage to hold the filter in place.
Close the access cover.
Re-attach glove box using hinges.
Push in the glove box until the side walls click.
Secure the damper arm on the outside right side of the glove box and close the glove box.
You did it! For a more in-depth tutorial, please watch our instructional YouTube video.


Comments